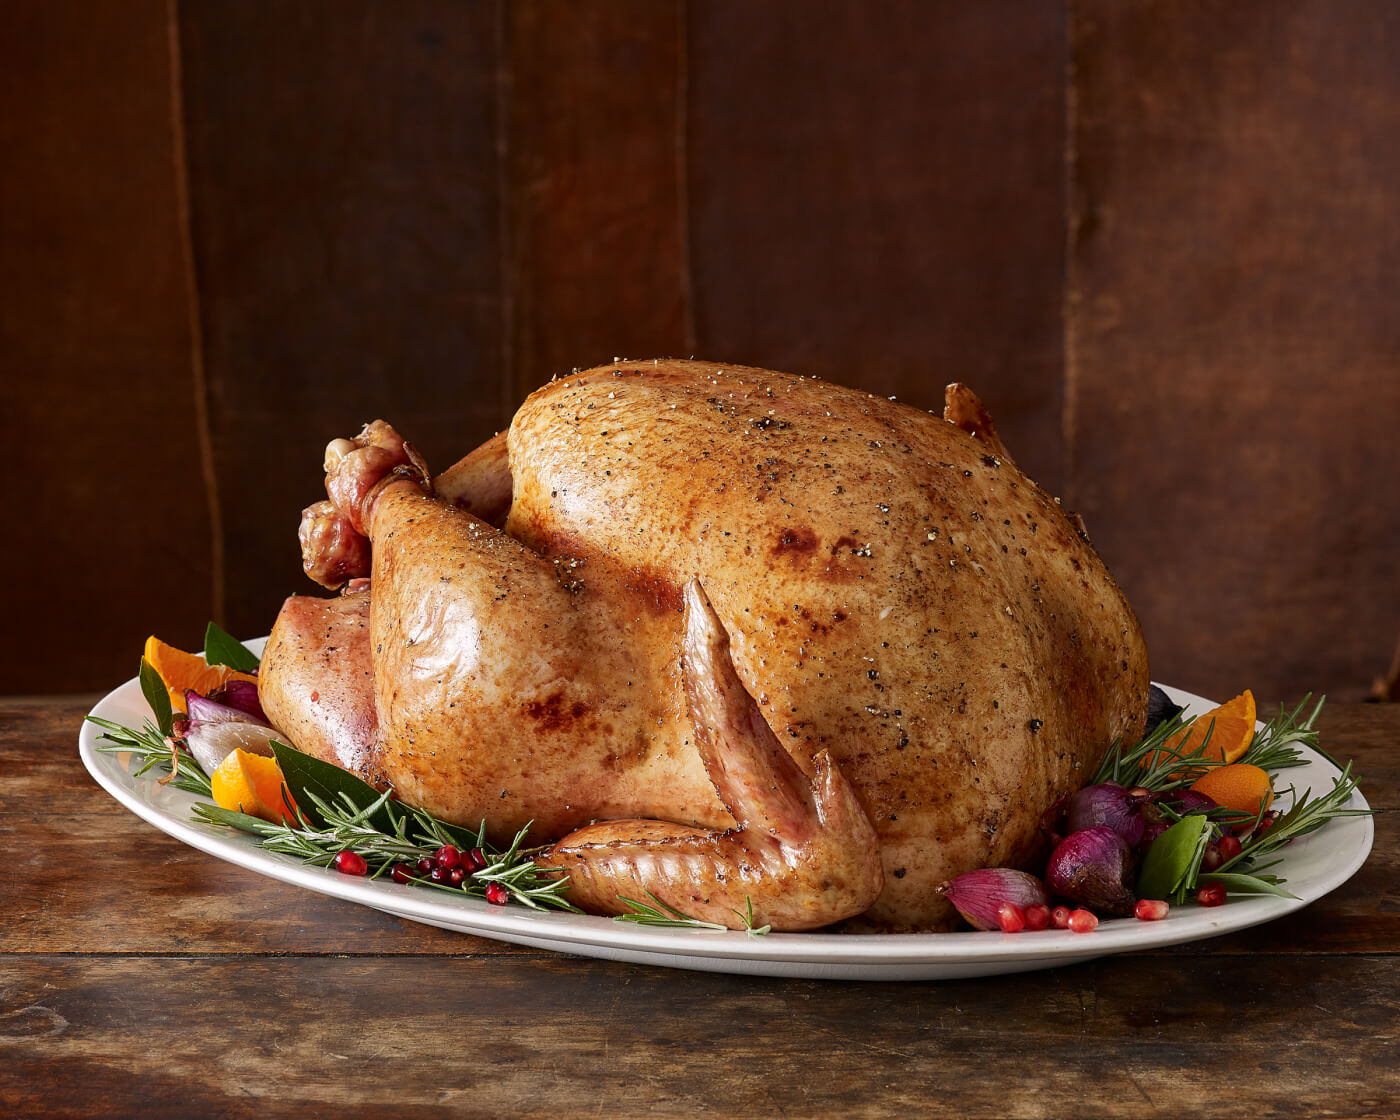
The four pillars of mastering the Thanksgiving turkey are thawing, brining, roasting, and carving. We’ll walk you through the basics step by step to make sure your bird ends up the talk of the table—in the best possible way!
Before you start, make sure you’ve got the tools.
Thaw It
When: A few days before Thanksgiving
Before doing anything else to your turkey, make sure it isn’t frozen. The easiest way is to move it to the fridge a few days before cooking. A good rule of thumb is to allow 24 hours for every five pounds. Keep the bird in its original packaging on a shallow baking sheet in refrigerator.
Refrigerator Turkey Thawing Time (40°F)
12 lbs = 1 to 2 Days
16 lbs = 2 to 3 Days
20 lbs = 3 to 4 Days
24 lbs = 4 to 5 Days
If you need to thaw the turkey more quickly, place the bird (still in its original packaging) in a clean sink or container filled with cold water. Change the water every 30 minutes to keep it cold enough for safe thawing. Allow approximately 30 minutes of thawing per pound using this method—and never leave the turkey unattended for more than 1 hour.
COLD Water Turkey Thawing Times
12 lbs = 4 to 6 Hours
16 lbs = 6 to 8 Hours
20 lbs = 8 to 10 Hours
24 lbs = 10 to 12 Hours
Brine It
When: The day before Thanksgiving
What sets great turkeys apart from okay ones? The brine. It adds great flavor and keeps the meat juicy. At its most basic, you need salt, sugar, and water. From there, it’s all you–customize with your favorite herbs and spices.
Brine Ingredients (for a 12 to 18 lb turkey)
1 cup kosher salt
1/4 cup granulated sugar
2 quarts water
Directions
1. In a large container, dissolve salt and sugar in water.
2. Rinse inside and outside of turkey in cool water.
3. Remove neck and giblets (the heart, liver, and gizzard) from chest cavity.
4. Place turkey, breast side down, in brining bag. Place bag in a large container. Add prepared brine to bag. Turkey should be submerged in brine. Press air out of bag and seal. Refrigerate container with turkey 12 to 16 hours. Turn turkey halfway through brining time or adjust to make sure it's all getting brined.
5. Before cooking, remove turkey from brine. Thoroughly rinse inside and outside of turkey under a slow stream of cool water. Pat skin and both cavities dry.
6. Cook as desired.
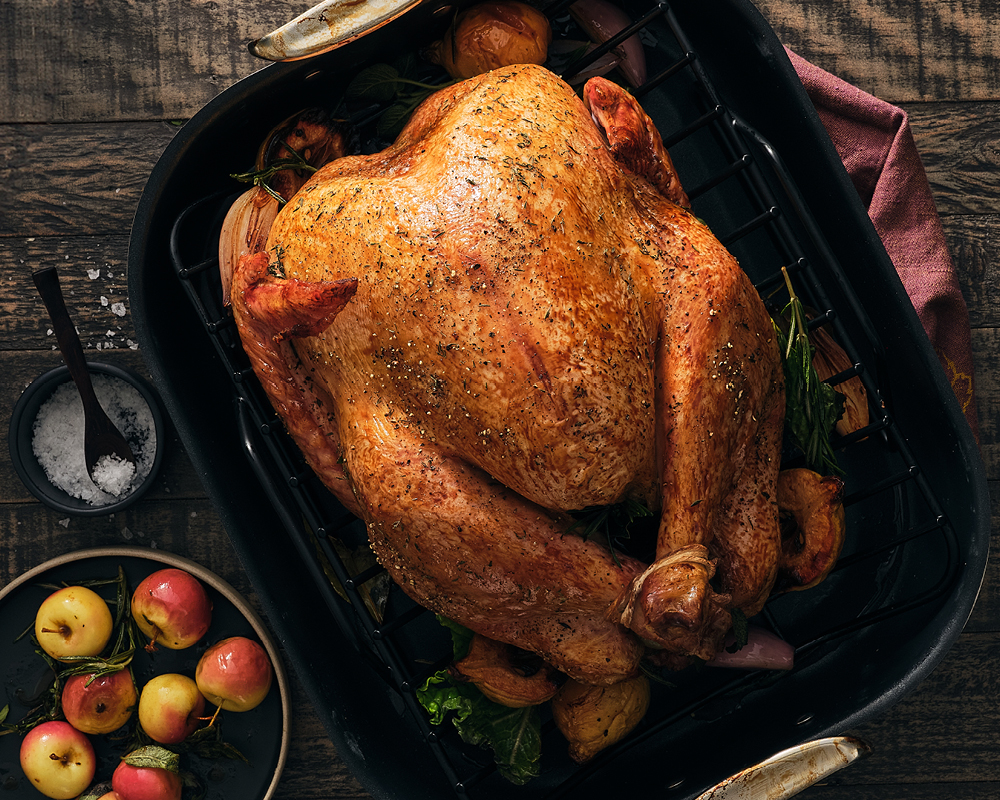
Roast It
When: The morning of Thanksgiving
Let’s cook that bird with confidence. We’ll cover how to place it on the rack, the best temperature of the oven, how long to cook it. You’ve got this!
Turkey Weights and Roasting Times
8 to 12 lbs = 3 to 3½ hours
12 to 14 lbs = 3½ to 4 hours
14 to 18 lbs = 4 to 4½ hours
18 to 20 lbs = 4½ to 4¾ hours
20 to 24 lbs = 4¾ to 5¼ hours
Directions
1. Adjust oven rack to lower-third position to accommodate turkey. Preheat oven to 375°F.
2. Remove thawed turkey from its packaging.
3. If not done so already, remove neck and giblets from chest cavity.
4. Remove wire that holds drumsticks in place by pushing down on drumsticks and squeezing wire. Next, fold wing tips behind bird to allow turkey to cook more evenly. Season bird all over with salt and pepper, being sure to season inside the cavity as well. Rub skin with butter or vegetable oil. Stuff cavity with halved lemons, thyme sprigs, rosemary sprigs, sage sprigs, and bay leaves. Truss the legs to close the cavity.
5. Set a rack (a non-stick v-rack is best) in a shallow roasting pan. Oil the rack. Place turkey, breast side up, on rack. Add 2 to 4 cups water or broth to roasting pan. Place roasting pan in preheated oven.
6. Lower oven temperature to 325°F for a conventional oven (300°F for a convection oven).
7. Roast turkey according to roasting chart below. If any part of turkey is browning too quickly, tent loosely with foil. Use a probe thermometer to test internal temperature of thickest parts of breast and thigh. Turkey is cooked when the thermometer reads 165°F.
8. Before carving, let turkey stand at room temperature about 20 minutes. This allows the meat to rest so you will have a more tender, juicy bird. After resting, lemon halves and other aromatics can be removed from cavity and discarded.
Carve It
When: Twenty minutes after the turkey comes out of the oven
You’ve done it! You’ve made the perfect turkey for Thanksgiving—and it looks and smells amazing. Now it’s time to carve. Follow our easy guide to carve like a pro, complete with pictures.